Baking bread at home often feels like an intimidating culinary mountain. Many people imagine spending hours kneading sticky dough, dealing with complicated sourdough starters, or waiting anxiously for hours only to pull a dense brick out of the oven. The truth is that baking rustic, delicious bread does not require professional training or expensive equipment. With the right beginner-friendly recipes and a few basic ingredients like flour, water, yeast, and salt, anyone can master the fundamentals of baking. The aroma of freshly baked bread filling your home is one of the most rewarding experiences in the kitchen. By starting with simple methods that require minimal active work, you can build your confidence and discover how surprisingly straightforward the bread-making process truly is.
The Magic of No-Knead Artisan Bread
The absolute best starting point for any beginner is the famous no-knead bread method. Popularized by master bakers, this technique eliminates the most tedious and confusing part of traditional baking by letting time do the work instead of your muscles. Instead of vigorous kneading, a wet, sticky dough is mixed quickly in a bowl and left to ferment slowly on your kitchen counter for twelve to eighteen hours. During this long resting period, the yeast consumes the natural sugars in the flour, producing bubbles of carbon dioxide and building strong gluten networks entirely on its own.
The secret weapon for this recipe is a heavy cast-iron Dutch oven with a lid. By baking the wet dough inside a preheated, covered pot, you trap the moisture released by the bread as it heats up. This creates a steamy micro-climate that mimics a professional steam-injected commercial oven, allowing the loaf to expand fully before the crust hardens. Once the lid is removed for the final minutes of baking, the crust turns a deep, gorgeous golden brown with a satisfying crunch.
-
Simple Ingredients: You only need four pantry staples, which include bread flour, active dry or instant yeast, kosher salt, and lukewarm water.
-
Minimal Effort: Total active preparation time takes less than ten minutes, making it ideal for busy schedules.
-
Professional Results: The resulting loaf features a chewy, open-crumb interior and a shatteringly crisp crust that looks like it came from an artisanal bakery.
Simple Sandwich Bread for Everyday Toast
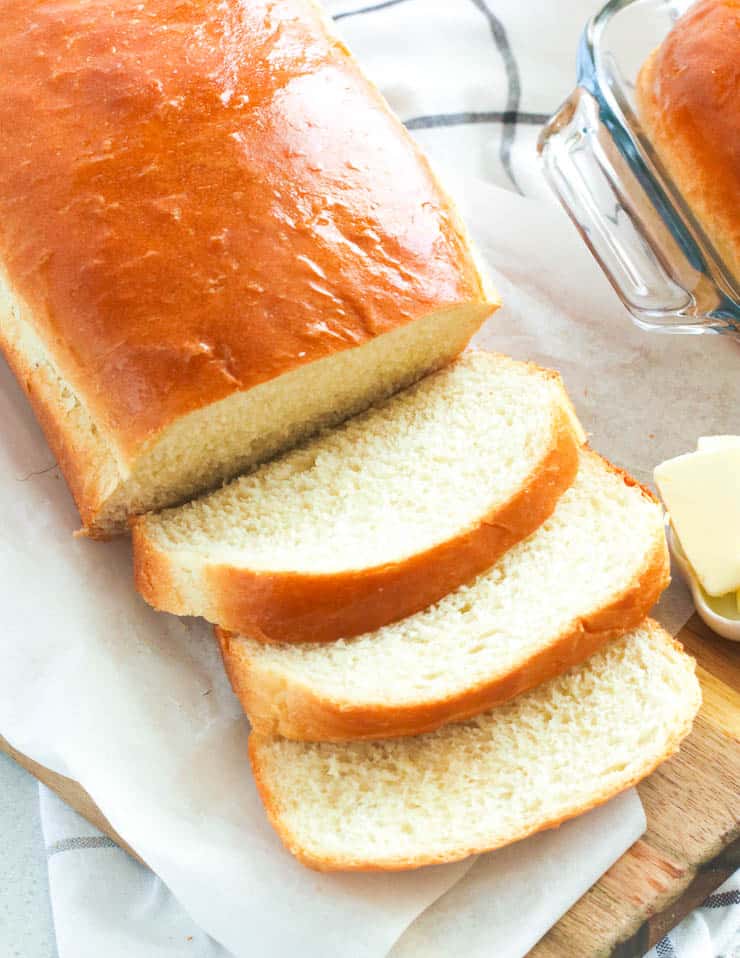
While crusty artisan boules are incredible for dinner, everyday life often calls for soft, sliceable sandwich bread. This style of bread requires a bit more structure and a gentle kneading process, but it remains remarkably accessible for total beginners. Enriched sandwich dough typically incorporates a small amount of fat, such as melted butter, milk, or oil, along with a touch of sugar or honey. These ingredients soften the crumb and create a tender, uniform texture that holds up perfectly to peanut butter, jelly, or deli meats.
The process involves mixing the ingredients into a shaggy dough, turning it out onto a clean counter, and kneading it for about eight to ten minutes until the surface feels smooth and elastic. After an initial rise in a warm spot, you shape the dough into a log and place it directly into a standard loaf pan for its second rise. Baking in a loaf pan ensures the bread grows upward, creating those classic uniform slices you need for morning toast or lunch sandwiches.
-
Kneading Technique: Push the dough away from you with the heel of your hand, fold it back over itself, give it a quarter turn, and repeat rhythmically.
-
The Windowpane Test: To check if your dough has been kneaded enough, stretch a small piece gently between your fingers; if it stretches thin enough to let light pass through without tearing, it is ready.
-
Butter the Crust: Rubbing a pat of butter over the hot crust right as it comes out of the oven softens the exterior and adds a rich, glossy finish.
Essential Tips for Yeast Success
Working with yeast can feel mysterious to beginners, but understanding a few basic rules ensures your dough rises successfully every single time. Yeast is a living organism that needs the right environment to thrive, which means temperature control is your most important variable during the mixing stage.
If your water is too cold, the yeast will remain dormant and nothing will happen. If your water is too hot, exceeding 120 degrees Fahrenheit, you will kill the yeast entirely and ruin your batch. Aim for lukewarm water that feels comfortable against the inside of your wrist, similar to a baby bottle. Additionally, always check the expiration date on your yeast package, as old yeast loses its potency and will fail to lift heavy bread dough.
-
Salt Placement: Never let salt touch dry yeast directly when adding ingredients to your bowl, because high concentrations of salt can inhibit or kill yeast activity.
-
Warm Environment: If your kitchen is drafty or cold, let your dough rise inside the oven with the interior light turned on, which provides a gentle, cozy heat source.
-
Patience Pays Off: Do not rush the rising process. Letting dough take its time develops complex flavors that make homemade bread taste significantly better than store-bought loaves.
Frequently Asked Questions
What is the difference between active dry yeast and instant yeast?
Active dry yeast needs to be dissolved in warm water before mixing with flour to activate it. Instant yeast is milled into finer particles and can be mixed directly into the dry ingredients without prior rehydration, making it slightly faster to use.
Can I use all-purpose flour instead of bread flour?
Yes, all-purpose flour works fine for most beginner recipes. However, bread flour contains a higher protein content, which creates more gluten and results in a chewier texture and better rise for artisanal loaves.
Why did my bread turn out dense and heavy instead of fluffy?
Dense bread usually happens for one of three reasons: the yeast was old and inactive, the water temperature was too hot and killed the yeast, or the dough did not rise long enough during the fermentation stage.
How should I store homemade bread to keep it fresh?
Store your cooled homemade bread in a paper bag, a linen bread bag, or a loosely closed plastic bag at room temperature. Avoid putting fresh bread in the refrigerator, as the cold environment accelerates starch retrogradation and makes the bread stale much faster.
Can I freeze homemade bread for later use?
Homemade bread freezes exceptionally well. Slice the loaf completely before freezing, place pieces of parchment paper between the slices, and store them in a heavy-duty freezer bag so you can toast single servings whenever you want.
How do I know when my loaf of bread is fully baked inside?
The most accurate way to test for doneness is using an instant-read thermometer inserted into the center of the loaf. When the internal temperature reaches 200 degrees Fahrenheit, the bread is fully baked.
Do I need a stand mixer to make homemade bread successfully?
A stand mixer equipped with a dough hook attachment is convenient, but it is certainly not required. Hand kneading or using the no-knead method allows you to make incredible bread using nothing more than a wooden spoon, a bowl, and your hands.